Designing a Captivating Landscape Sculpture: A Step-by-Step Guide for Your Backyard Earthen Art
- Heather Woolley
- May 22, 2023
- 1 min read

Updated: Jun 26, 2023
4 Easy Steps to Design Your Own Garden Installation

Step 1: Site Selection and Assessment
Look for an open spot in your garden that can support the type of vegetation you want to showcase.
Identify an area that needs visual interest or enhancement.
Consider the visibility of the sculpture from different angles, particularly from the front.


Step 2: Sun/Shade Analysis and Planning
Evaluate the amount of sunlight and shade the chosen area receives throughout the day.
Plan the placement of the sculpture accordingly, considering whether you want to create more shade or allow for open spaces.
Measure out your space is important later on when creating a well-ratioed layout

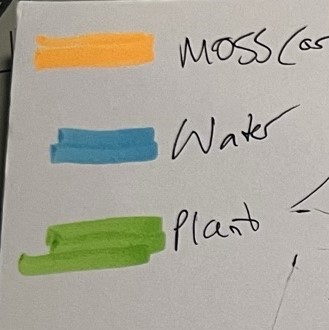
The tree on the left as well as the house and small tree on the right will shadow (blue highlighter) the structure from most of the sun. During the day the top as well as the front are hit with the most sun (yellow highlighter).
Step 3: Concept Development and Sketching
Generate a range of quick one-line sketches or scribbles to explore different shapes and proportions for your sculpture.
Consider the overall space and arrangement, such as taller elements at the back and open spaces at the front.
Use subtractive techniques to add interest to the sculpture, such as removing material or incorporating voids.


Step 4: Refinement and Decor
Select a few promising sketches from the previous step.
Use angular lines to define and refine the actual shapes of the sculpture.
Add more details and intricacies to the design, taking into account the desired visual aesthetic and the overall theme or concept
Lastly, make photocopies a favourite or two, grab a few highlighters and scribble away


Step 5: Make!
Check out this page with a video showing the entire construction process


Comments